Have you ever stopped to think about why some people who own vending machines seem to take off right from the start , while others are just trying to keep their machines in stock? The honest truth is, most newbies throw themselves into the vending business without any clear idea of how it all works – and that’s a recipe for disaster, with lost sales, fed up customers and machines stopping in their tracks way before they should be. A solid operations checklist not only avoids all that, but it also lays the groundwork for a vending business that actually makes some real money and can grow.
If you’re just starting out & feeling a bit lost, don’t worry – this guide is here to walk you through everything with clear, easy-to-understand language, some real-world insights and the best practices that actually work for people who’ve been in the game for a while.
By the end, you’ll know exactly how to sort out your vending machines, getting the right stock in at the right times, getting that cash in the till, making sure the machines are in good nick and plotting the best route for your business like a seasoned pro.
1. Choose Your Machines and Verify Site Requirements
Before you start plunking down gear, make sure your machine type is up to speed with your location. A solid vending business starts with pairing the right vending equipment with the right kind of place.
Take a step back and ask yourself:
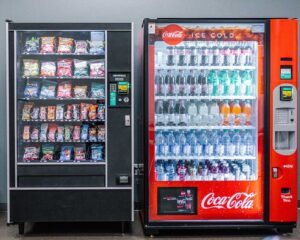
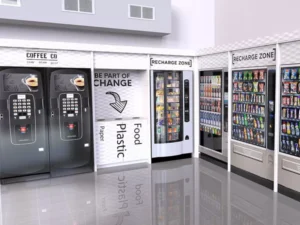
- Does the spot you’re eyeing want a snack machine, soda machine, a combo vending machine, or something a little healthier like healthy vending options?
- Got a stable power outlet nearby and enough room for the machine to get delivered?
- Will the spot support digital payments through cashless readers or something a bit more high-tech like Nayax, PayRange, or card readers?
One rookie mistake is assuming every place you’re looking at wants to be set up the same way. A gym, for instance, is probably going to need protein snacks, bottled water, and some sports drinks, while an office might be more into chips, granola bars, and a cold cold brew coffee. If you get your inventory and machine type right in the first place, you’ll save yourself a whole heap of trouble down the line.
2. Conduct a Pre-Placement Inspection
Before installing a vending machine:
- Measure doors and hallways
- Confirm the flooring can support heavy equipment
- Look for nearby surge-protected outlets
- Test brightness and visibility
- Identify peak foot traffic zones
- Ensure the placement isn’t blocking emergency exits or cameras
These small details reduce the risk of operational problems, machine damage, and relocation requests.
3. Stocking Strategy: Build Your First Inventory Plan
Stocking is more than loading random products. You need a product strategy designed around customer habits and profit margins. Start with:
Identify Product Categories
Use a mix of:
- Salty snacks, chips, pretzels
- Chocolate bars, candy, sweet snacks
- Bottled beverages, energy drinks, iced tea
- Healthy snacks, nuts, protein bars
- Specialty items based on demand
Monitor Expiration Dates
Always organize inventory using FIFO (First In, First Out). This keeps your stock fresh and reduces loss.
Set Standard Par Levels
A common beginner problem is either overstocking (waste) or understocking (lost revenue). Create par levels for each machine slot—example:
- Slot 1: 12 units of chips
- Slot 2: 10 units of granola bars
- Slot 3: 8 units of trail mix
This builds consistency across routes.
4. Route Planning: Optimize Your Service Schedule
Inefficient routes cost vending operators more money than machine malfunctions. A professional vending operator always plans their schedule around:
- Machine sales volume
- Location working hours
- Distance between stops
- Inventory turnover rate
- Seasonal demand shifts (e.g., more drinks in summer)
Use route management tools such as Vendsoft, Seed Pro, Parlevel, or simple Google Maps until you scale.
Advanced operators rely on remote monitoring systems to check inventory levels before driving. Beginners without telemetry must build a consistent calendar—e.g., Monday for offices, Wednesday for schools, Friday for warehouses.
5. Essential Tools and Supplies for Every Service Run
Before leaving for your route, pack the essentials. You should always have:
- Product inventory
- Cash collection bags
- Coin tubes and extra coins for change
- Cleaning supplies
- Replacement parts (spirals, motors, LED bulbs)
- An MDB cable, test vend tools, and a compact tool kit
- Extra bill validator belts
- Sanitizing wipes and glass cleaner
- A notebook or digital tracking system
The vending business rewards operators who stay prepared. A missing tool can turn a 5-minute fix into a second trip—doubling your fuel cost and time.
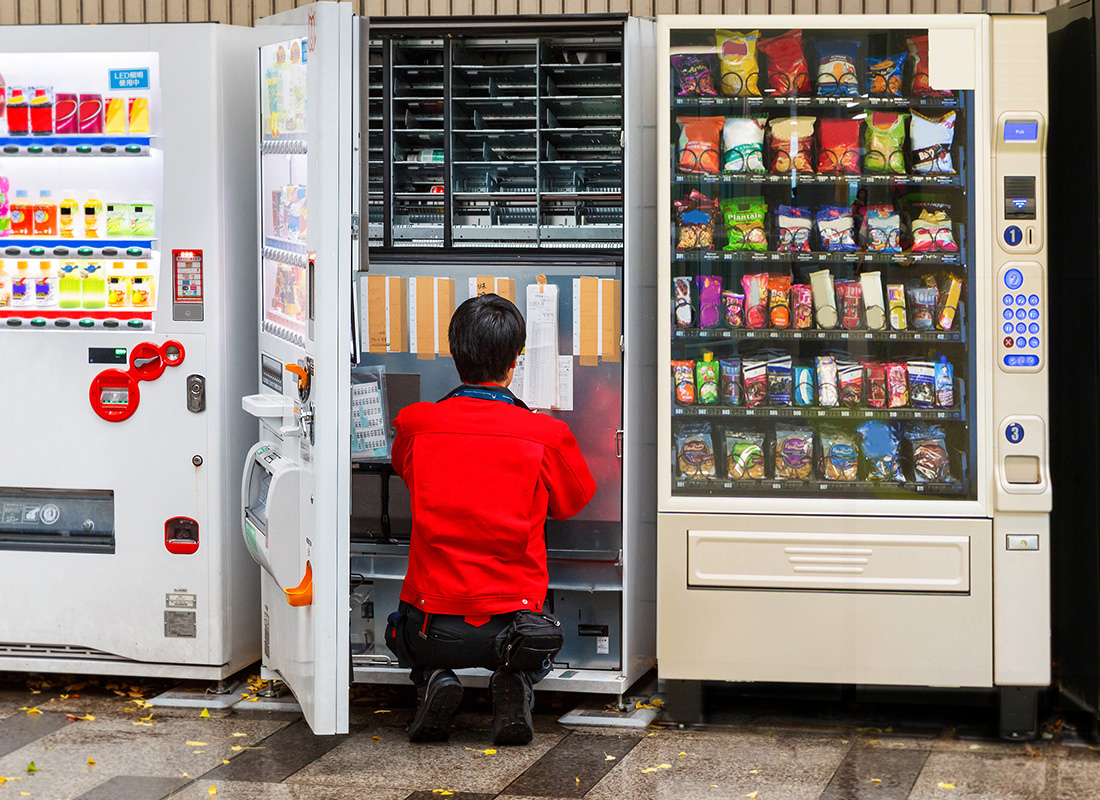
6. Restocking the Machine: Step-by-Step Process
When you’re servicing your machine, stick to this routine as closely as possible:
Step 1: Give the Machine a Good Once Over
As you get started, take a good hard look for things like:
- Spirals that are jammed or clogged
- Any items that are stuck in the coils
- Any molten mess near the glass (you don’t want that to happen)
- Leaks or spills – you don’t want to waste cash on unnecessary cleaning
- If the machine’s not picking up on selections properly
Step 2: Keep Track of Your Cash
No matter whether you’re using a manual book or some fancy cash accountability system, always write down:
- The lot of bills you’ve got on hand
- The total in coins
- The current reading on the machine’s meter
That way you can keep an eye out for problems like coin jams or bill validator errors, and even prevent theft.
Step 3: Stock Up – Carefully
When you’re reloading inventory, be super careful not to jam those coils. Keep your items spread out, and make sure they’re all facing the right way.
Step 4: Get Your Prices Up to Date
If a product’s gone up in cost, get that updated in the machine. A lot of newbies end up losing money because they forget to do this.
Step 5: Give the Machine a Test Run
Always do a test run using coins or the machine’s internal mode. That way you can check for things like:
- Whether the spirals are moving freely
- If the motor’s turning okay
- If the product is falling the way it should
- How the drop sensors and vend sensors are working
Test-vending like this helps you avoid refund headaches and unhappy customers.
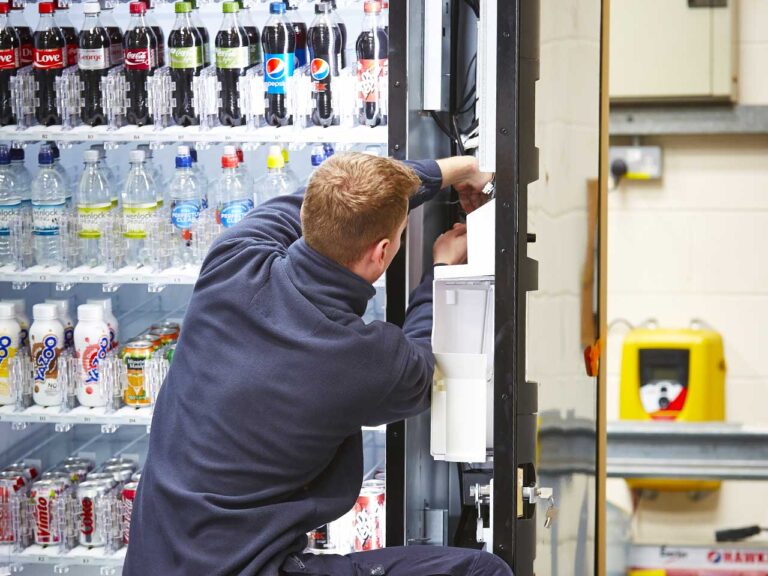
7. Machine Maintenance: Prevent Problems Before They Start
A well taken care of vending machine can easily go for 10-20 years – as a beginner you’ll want to focus on these core tasks.
Clean the Bill Validator
Dirt is the biggest reason for jammed or rejected bills. Use:
- A validator cleaning card
- Light compressed air
- Alcohol-free wipes
Clean and Polish the Front Glass
A clean interface builds trust and encourages impulse buys. Dirty machines reduce sales.
Inspect Cooling Units
For drink machines, check:
- Fan motors
- Vents
- Condenser coils
- Temperature settings
A failing cooling unit means massive product waste and unhappy customers.
Check the Coin Mechanism
Look for:
- Jammed coins
- Overfilled tubes
- Low change (causing card reader errors)
Verify Card Reader Functionality
Ensure cashless payment systems sync and transmit data. If card readers fail, modern vending revenue drops significantly.
8. Address Customer Service Quickly
A thriving vending route relies on customer trust. When someone reports:
- A jam
- Double charge
- Vend failure
- Empty shelves
- Pricing error
- Wrong product label
Respond within 24–48 hours. The faster you handle issues, the more likely a location will keep your machines long-term.
Provide a customer service number or QR code on the machine. This demonstrates professionalism and builds stronger relationships with your placement partners.
9. Analyze Sales and Optimize Your Inventory
Data is everything in vending. Review your sales weekly or biweekly:
- What sells out fastest?
- What products never move?
- Should you add more energy drinks, gummy candies, protein snacks, or diet beverages?
- Which slots generate the highest revenue?
- Should you rotate in trending items like Takis, Prime hydration, or Zero-sugar sodas?
Beginner operators often stock items they personally prefer—this is a mistake. Always follow customer behavior, not personal taste.
Use planograms, sales reports, and inventory optimization tools to keep performance improving.
10. Build Location Relationships
A good vending business is built on strong relationships. Visit your accounts with professionalism:
- Keep machines clean and visibly maintained
- Share monthly performance summaries if needed
- Offer seasonal product rotation
- Place suggestion sheets for employees
- Bring small complimentary samples occasionally
When locations feel valued, they trust you more and are less likely to replace your machines with competitors.
Conclusion
Most novice vending machine business owners are chaotic and disorganized in their initial stages but this isn’t how you have to be. Stepping through operational checklists to manage your machines, inventory, clientele, and revenue from day one are critical to staying organized. Increased organization means rapid expansion of your business and its routes. Snack Masters is always available to help with expert vending, professional assistance, and high-quality service.